
How To Add a Product with Filters
Overview
In this how-to you will learn how to create a product with filters. At the end of it you will have added a property group a property, a category with three products and a filter portlet.
Note
If you don’t have a working LFS instance yet, you can just use our demo shop at http://demo.getlfs.com. Please be aware that we reset the database every two hours.
Steps
First we will add the corresponding filter portlet:
- Go to Management / Shop / Preferences.
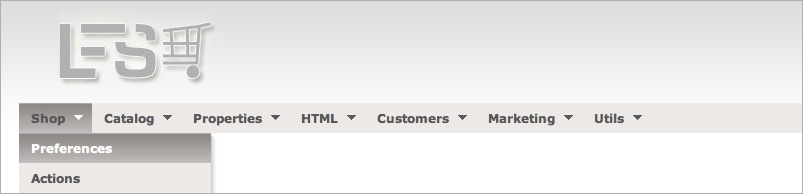
- Go to the “Portlets” tab.
- Select
Filterportlet and clickAdd portlet. Enter Filter in theTitlefield and clickSave portlet. You should now see the filter portlet within theLeft slotsection.

Now we will add properties, which are the base for the product filters.
- Go to Management / Properties / Properties.
- Add a new property by clicking
Add property. (If there is no property. at all yet you will see the Add property form automatically). - Enter the
Nameof the property, in our case Size and clickAdd property. - Go to
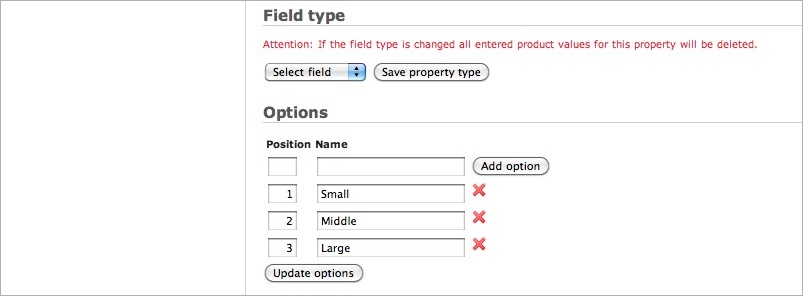
Field type, selectSelect fieldand clickSave property type. - Now go to
Optionsand fill in theNamefield. In our case Small. ClickAdd option. - Repeat step 8 for Middle and Large. Now you should see three options within property Size: Small, Middle and Large.
Now we will add a property group.
Note
Every property has to belong exactly to one property group in order to use it with a product.
- Got to Management / Properties / Property Groups.
- Add a new property group by clicking the
Add property groupbutton. (If there is no property group at all yet you will see the Add property group form automatically). - Enter the
Nameof the property, in our case T-Shirts and clickAdd property group.
Now assign the property to the property group:
- Go to the “Properties” tab.
- Select Size and click
Assign properties.
You should now see Size within Assigned properties.

We will now add the Property group to some products.
- Go to Management / Catalog / Products.
- Add a new product clicking
Add product. (If there is no product at all yet you will see the Add product” form automatically). - Fill in
NameT-Shirt One andPrice10.00 and clickAdd product.
No we assign values to the properties:
- Go to the
Propertiestab of that product. - Select our
Property groupT-Shirts and clickUpdate property groupsYou will now see thePropertySize. - Select
SizeSmall. - Repeat Steps 16 - 20 for T-Shirt Two and T-Shirt Three and assign sizes Middle and Large and prices 100.00 and 1000.00. Now you should have three products T-Shirt One, T-Shirt Two and T-Shirt Three with sizes Small, Middle and Large and prices 10.00, 100.00 and 1000.00.
We need to make the products active:
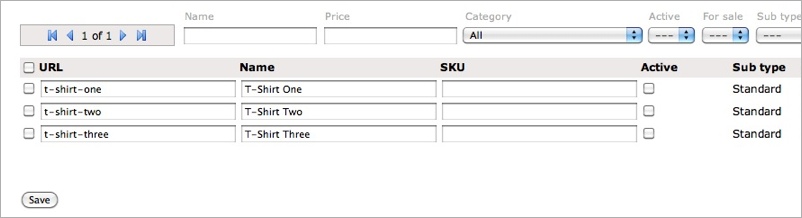
- Go to Management / Catalog / Products Overview.
- Select
Activefor all products and clickSave.
Now we add a new category T-Shirts:
Note
Filtering takes place on products of a category, hence we add a category for our newly products.
- Go to Management / Catalog / Categories.
- Add a new category by clicking “Add category”. (If there is no category at all yet you will see the “Add category” form automatically).
- Fill in the
Name: T-Shirts and clickAdd category.
Now we assign the products to the category:
- Go to the products tab of that category.
- Select the products T-Shirt One, T-Shirt Two, T-Shirt Three and
click
Add to category.
Now we are ready to preview our new content:
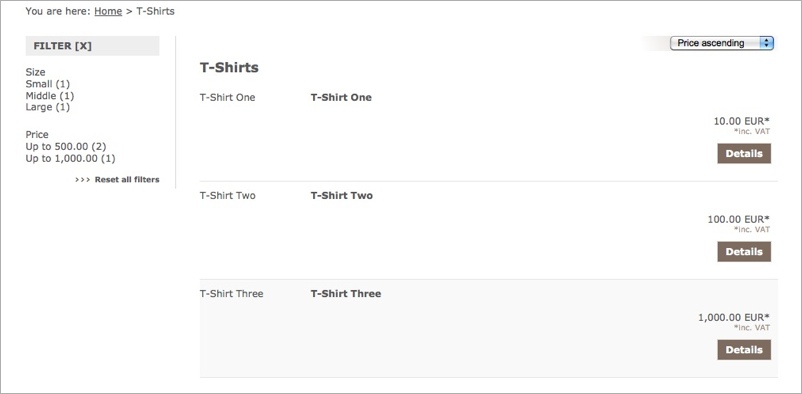
- Click on the
Previewbutton. You should now see the filter portlet with the ability to select the sizes Small, Middle and Large and prices 0 - 500.00 and 501.00 - 1000.00.
What’s next?
- Add some more properties to the property group T-Shirts.
- Add the property group T-Shirts to more products.
- Assign products and values via Property Groups:
- Go to Properties / Properties Groups
- Select T-Shirts
- Go to Products tab
- Go to Values tab
- Check out the other options of the properties, e.g. the
Field typeor theUnitfield. - Check out creating variants on base of properties and see how filters work with variants too.